Change a product photo background with AI: check shape, color and labels
A reference-image workflow for product backgrounds: write the prompt, check shape and labels, and choose compositing when original pixels must stay intact.
 Ofox
Ofox 
To change a product photo background, upload the photo as a reference and describe the replacement setting. Before using the output, compare the product itself with the original. A convincing background does not make a rewritten label or a missing handle acceptable.
This guide uses the Ofox image tool, so you do not need an API key. Use a photo you own or have permission to edit. The interface was checked on September 20, 2026; the prompts below are starting examples, not recorded generation results.
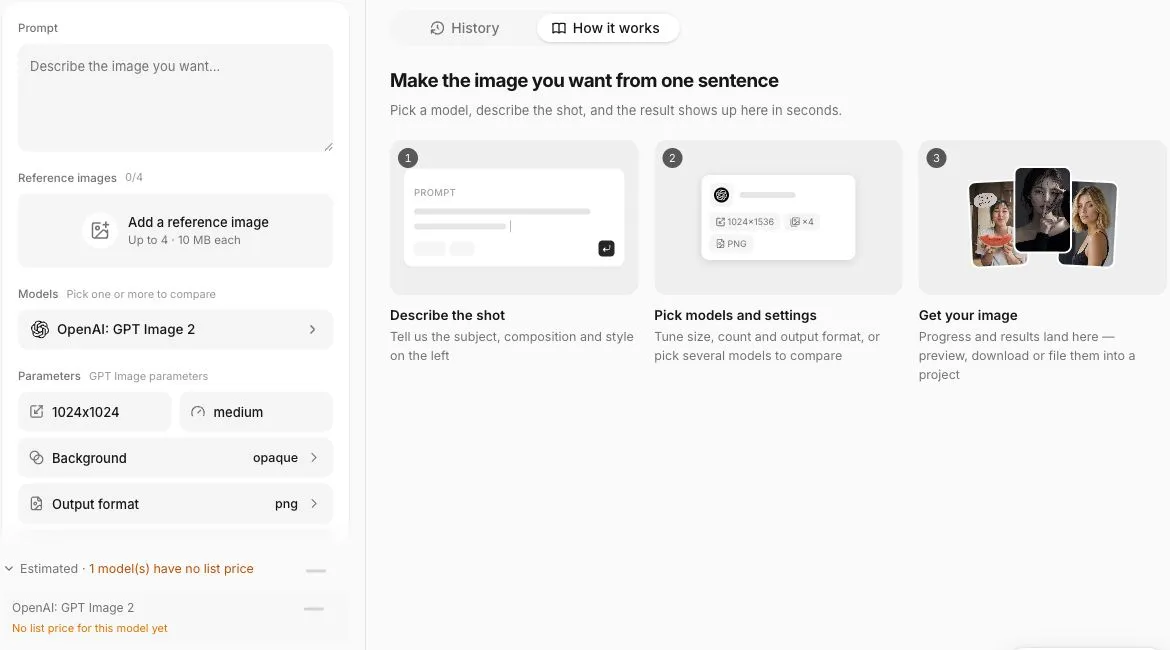
The screenshot shows settings and the built-in guide, not outputs from this tutorial.
Decide what can change
For a listing photo, write down the parts that must remain accurate before generating: outline, color, label text, visible accessories and capacity. If those details must remain pixel-for-pixel identical, use an image editor to cut out the original product and composite it onto a background. Reference-based generation can redraw the subject.
| Requirement | Practical choice |
|---|---|
| Keep the exact label and product pixels | Composite the original cutout in an external editor |
| Try a different setting or lighting mood | Reference-based generation, followed by inspection |
| Produce a transparent asset | Check model support and the downloaded file’s alpha channel |
A white background is not transparency. Saving a file as PNG does not establish that it has transparent pixels.
Set up one reference and one model
Open the image tool and add your photo under Reference images. Select one model and review its available size and quality settings. The controls depend on the model; do not assume another model accepts the same sizes.
Start with a plain background:
Use the attached product photo as the reference. Place the product against a clean white studio background with a soft contact shadow. Preserve the outline, lid, body color, label position and label text. Do not add props, accessories or text.
To try a lifestyle setting, replace “clean white studio background” with “a wooden table beside a softly lit window.” Keep the other settings constant so that you can judge the background change separately.
Check the cost information before running. If a model has no displayed estimate, that does not mean it is free. Confirm its billing conditions before submitting a request.
Inspect the product before the background
Compare the original and output at the same display scale, then zoom into the label and thin edges. Check the lid seam, handle, corners and contact shadow. A 500 ml label becoming 350 ml is a factual error in a sales image, even if the result looks polished.
Reject an image if it adds a feature, changes the color variant or makes an accessory look included when it is not. Adjusting the prompt may help, but “preserve exactly” is an instruction, not a guarantee.
If the product keeps changing, retain the original product pixels and do the final composite in your existing editor. Do the cutout and compositing in your image editor; they are not part of the Ofox workflow shown here.
Keep a reusable record
Save the original, accepted output, prompt and model settings together. Keep the layered editing file if you used compositing. Before uploading to your store, inspect the downloaded file rather than relying only on its preview.
For a portrait placement, see landscape-to-portrait options. Developers who need automation can use the image API guide. Adobe’s background guide illustrates the broader workflow; Adobe capabilities should not be read as Ofox capabilities.
Frequently Asked Questions
- Will a reference photo keep every product detail unchanged?
- No. Inspect the result against the original. Use the original product cutout when exact preservation is required.
- Is a white PNG transparent?
- Not necessarily. White pixels and transparent pixels are different; check the exported file.